
This Christmas wreath is so fun to "build" using the Cottage Wreaths bundle. Using it for Christmas here, but I have plans for Autumn and Halloween! (Pssst, if you order the Cottage Wreaths bundle, you can get the Silver & Gold DSP for free!)
Measurements
- Card base: Basic White 5-1/2" x 8-1/2", scored & folded at 4-1/4"
- Background DSP: Silver & Gold Specialty Paper (SAB freebie!) 4" x 5-1/4"
- Gold embossed background: Gold Foil Sheets 3" x 4-1/4"
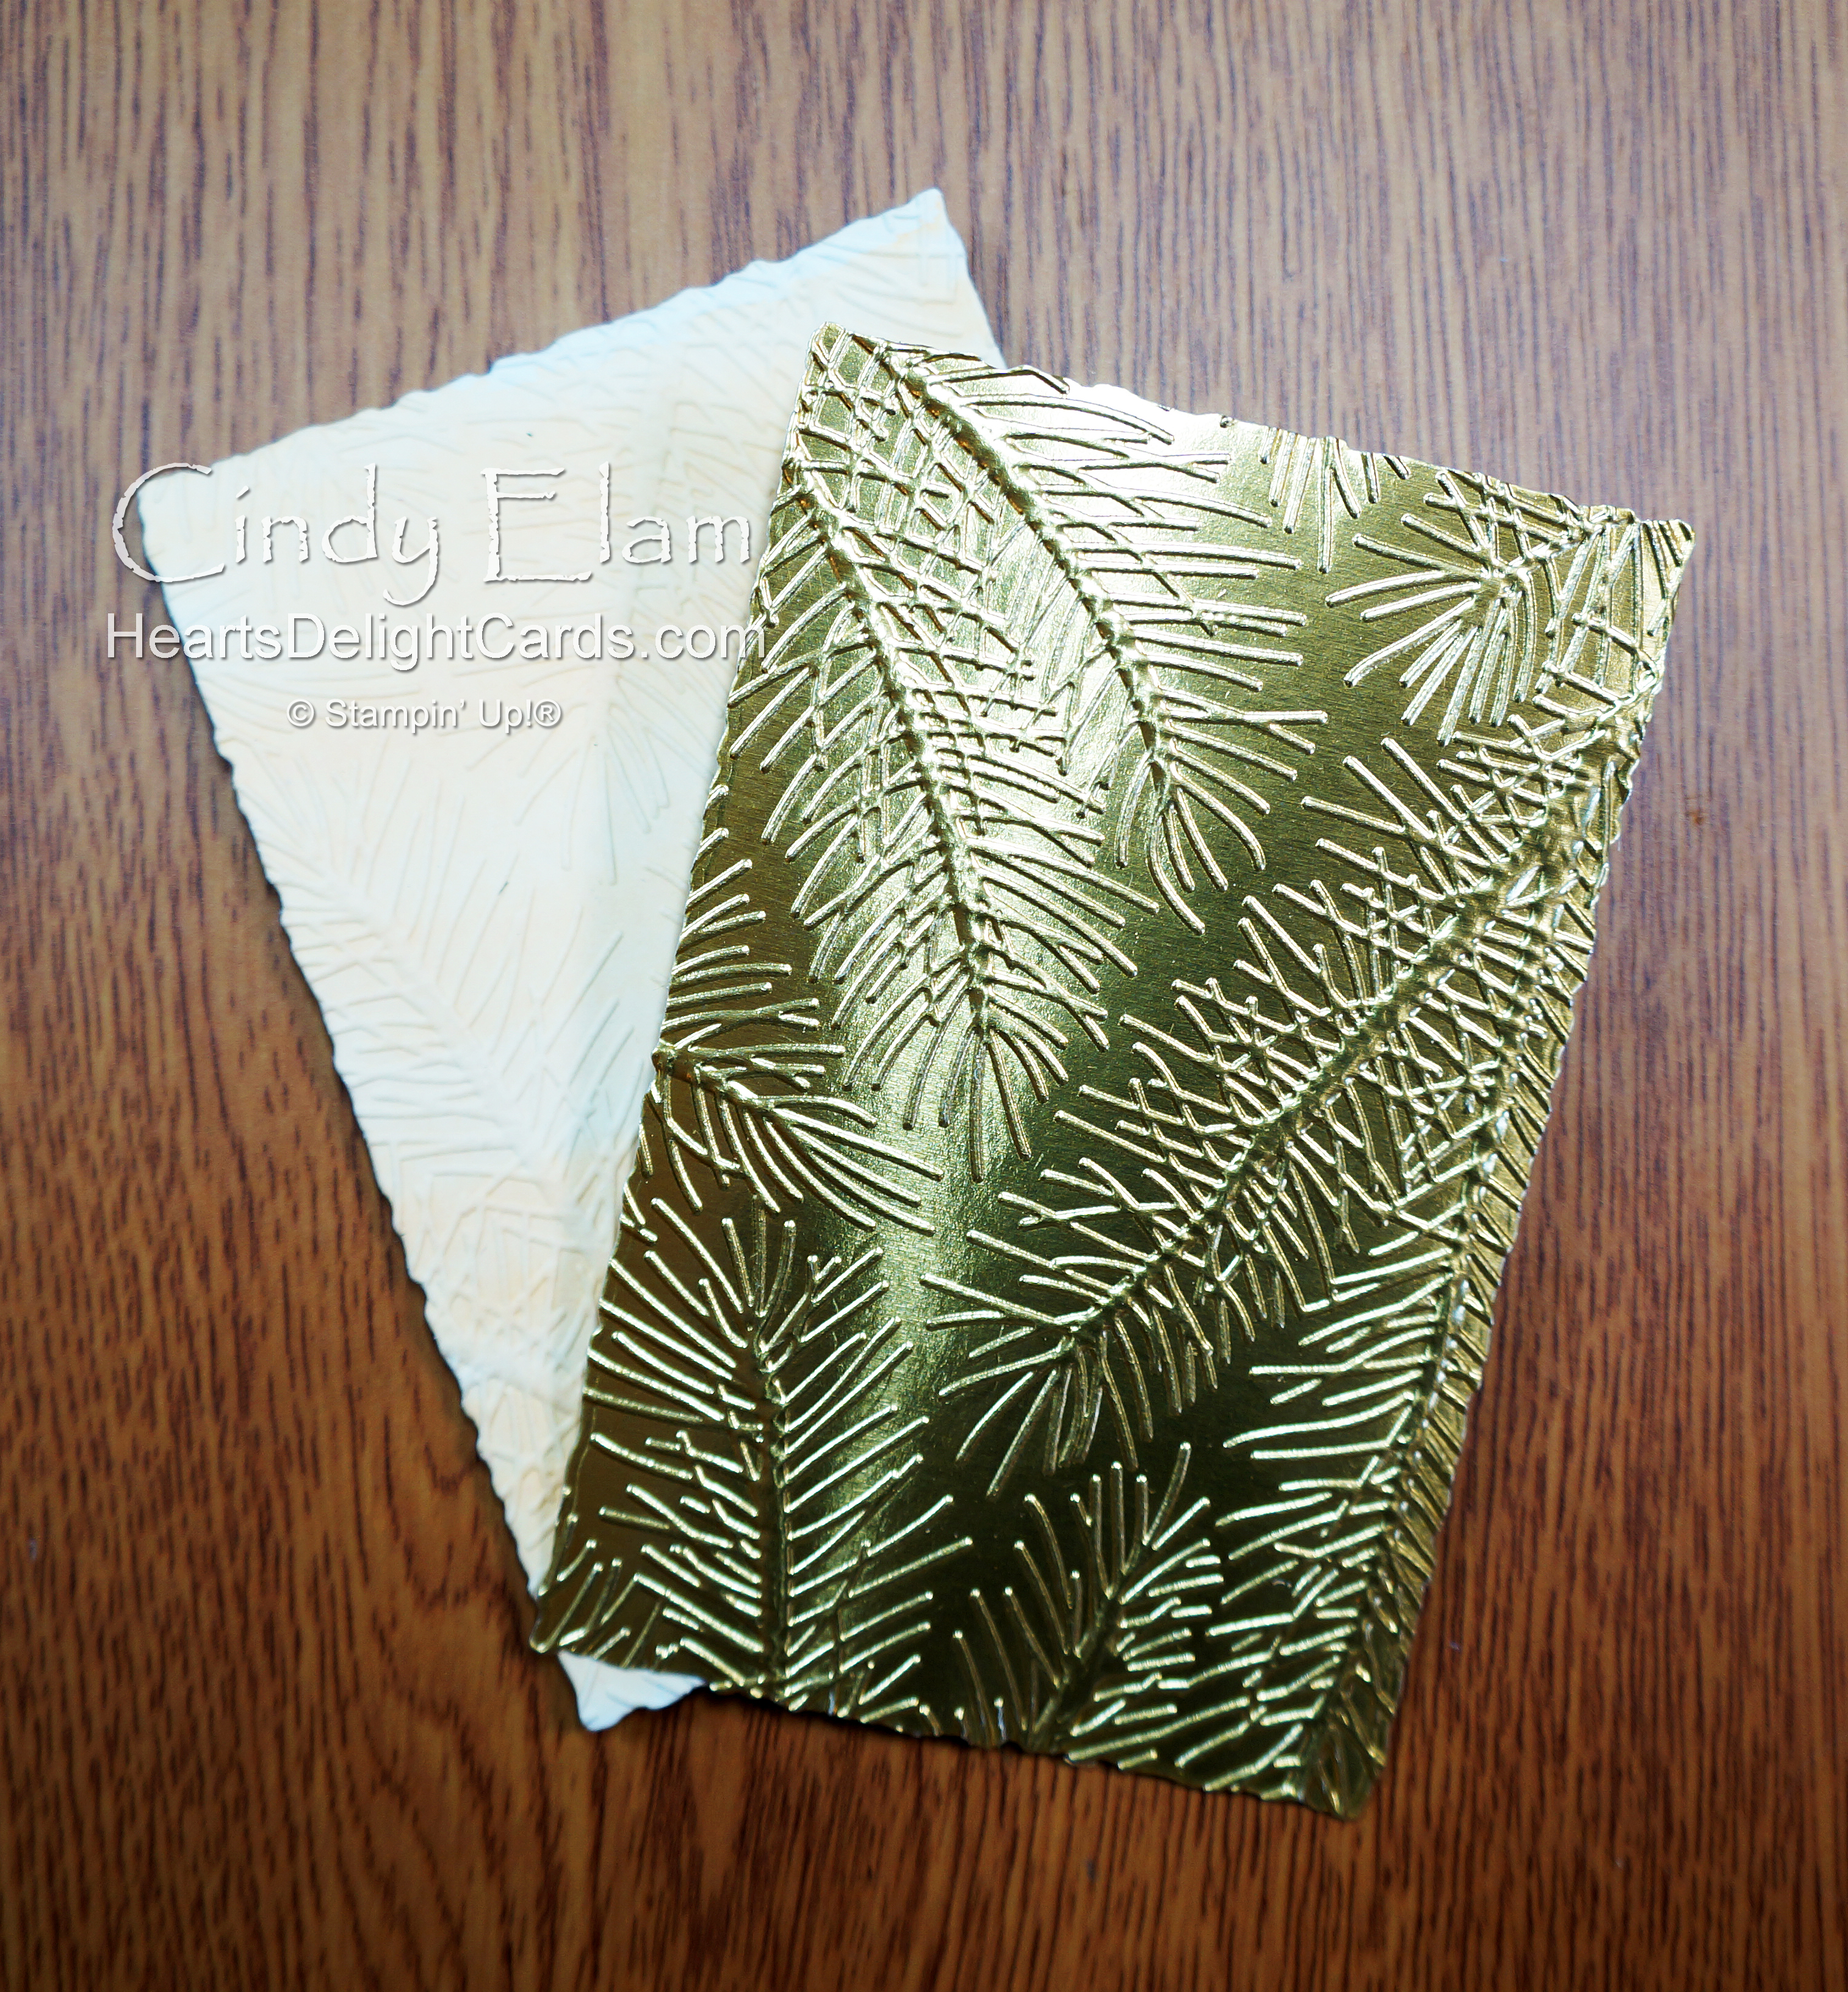
- Watercolor background: Fluid 100 Watercolor Paper 5" x 7" (one sheet)
- Wreath: Basic White 3" x 4-1/4"
- Bow: Real Red 2" x 2"
- Greeting: Pale Papaya 1/2" x 2-1/2"
Instructions
1. Adhere DSP to card base.

2. Using a Water Brush and Pale Papaya ink, create a watercolor wash on the Fluid 100 paper. Let dry, then die cut with fourth largest Deckled Rectangle die and emboss with the Wintry 3D embossing folder.


3. Die cut gold foil with the same rectangle die and emboss as you did above.
4. Adhere gold embossed piece to card front toward upper left, and watercolored piece offset toward lower right. (I forgot to photo this step.)
5. Stamp twig wreath in Crumb Cake ink, then stamp pine greenery randomly, first with Soft Succulent ink, then with Evening Evergreen.

6. Cut out with die that matches twig wreath. You'll cut off some greenery, that's okay. Stamp several more pine greenery pieces on the scrap and cut with the matching dies. (I forgot to photo this step, too.)


7. Cut bow from Real Red cardstock and add Clear Wink of Stella for a shimmery effect. Glue bow to wreath and attach wreath to card with dimensionals.

8. Glue a few pine greenery pieces to the wreath and add gold Festive Pearls. Stamp greeting using Real Red, cut banner ends and attach to card with dimensionals.

")


 Designer Series Paper")


No comments:
Post a Comment
Thank you for visiting - I'd love to hear from you!