Showing posts with label Thanks a Bunch. Show all posts

Monday, February 20, 2023

Stamp Review Crew - Sale-A-Bration Part 2


Welcome to the Stamp Review Crew's Sale-A-Bration second edition! The "Crew" is a group of Stampin' Up! demonstrators from around the world who pick a stamp set or bundle to highlight on the first and third Mondays of each month, with a bonus hop if there is a fifth Monday. If you landed here from Betty's blog, Kitty Stamp, welcome! There are seven of us today, and Sale-A-Bration is winding down until next year, so be sure to check out all the inspiring projects from the crew!


Yesterday was the "February birthdays" celebration at our house. My daughter's birthday is one week after mine, and my husband's birthday is one week after hers, so we had one big celebration. This week just completely got away from me so I only have one card to share today. I chose the Thanks A Bunch stamp set and challenged myself to use it in a different way.


I thought the large carrot, turned around, looked somewhat like a palm tree trunk, and the large leaf like palm fronds so I made a little scene from them. The grass is the leaf's shadow stamp. And I found the sentiment to be hilariously appropriate!


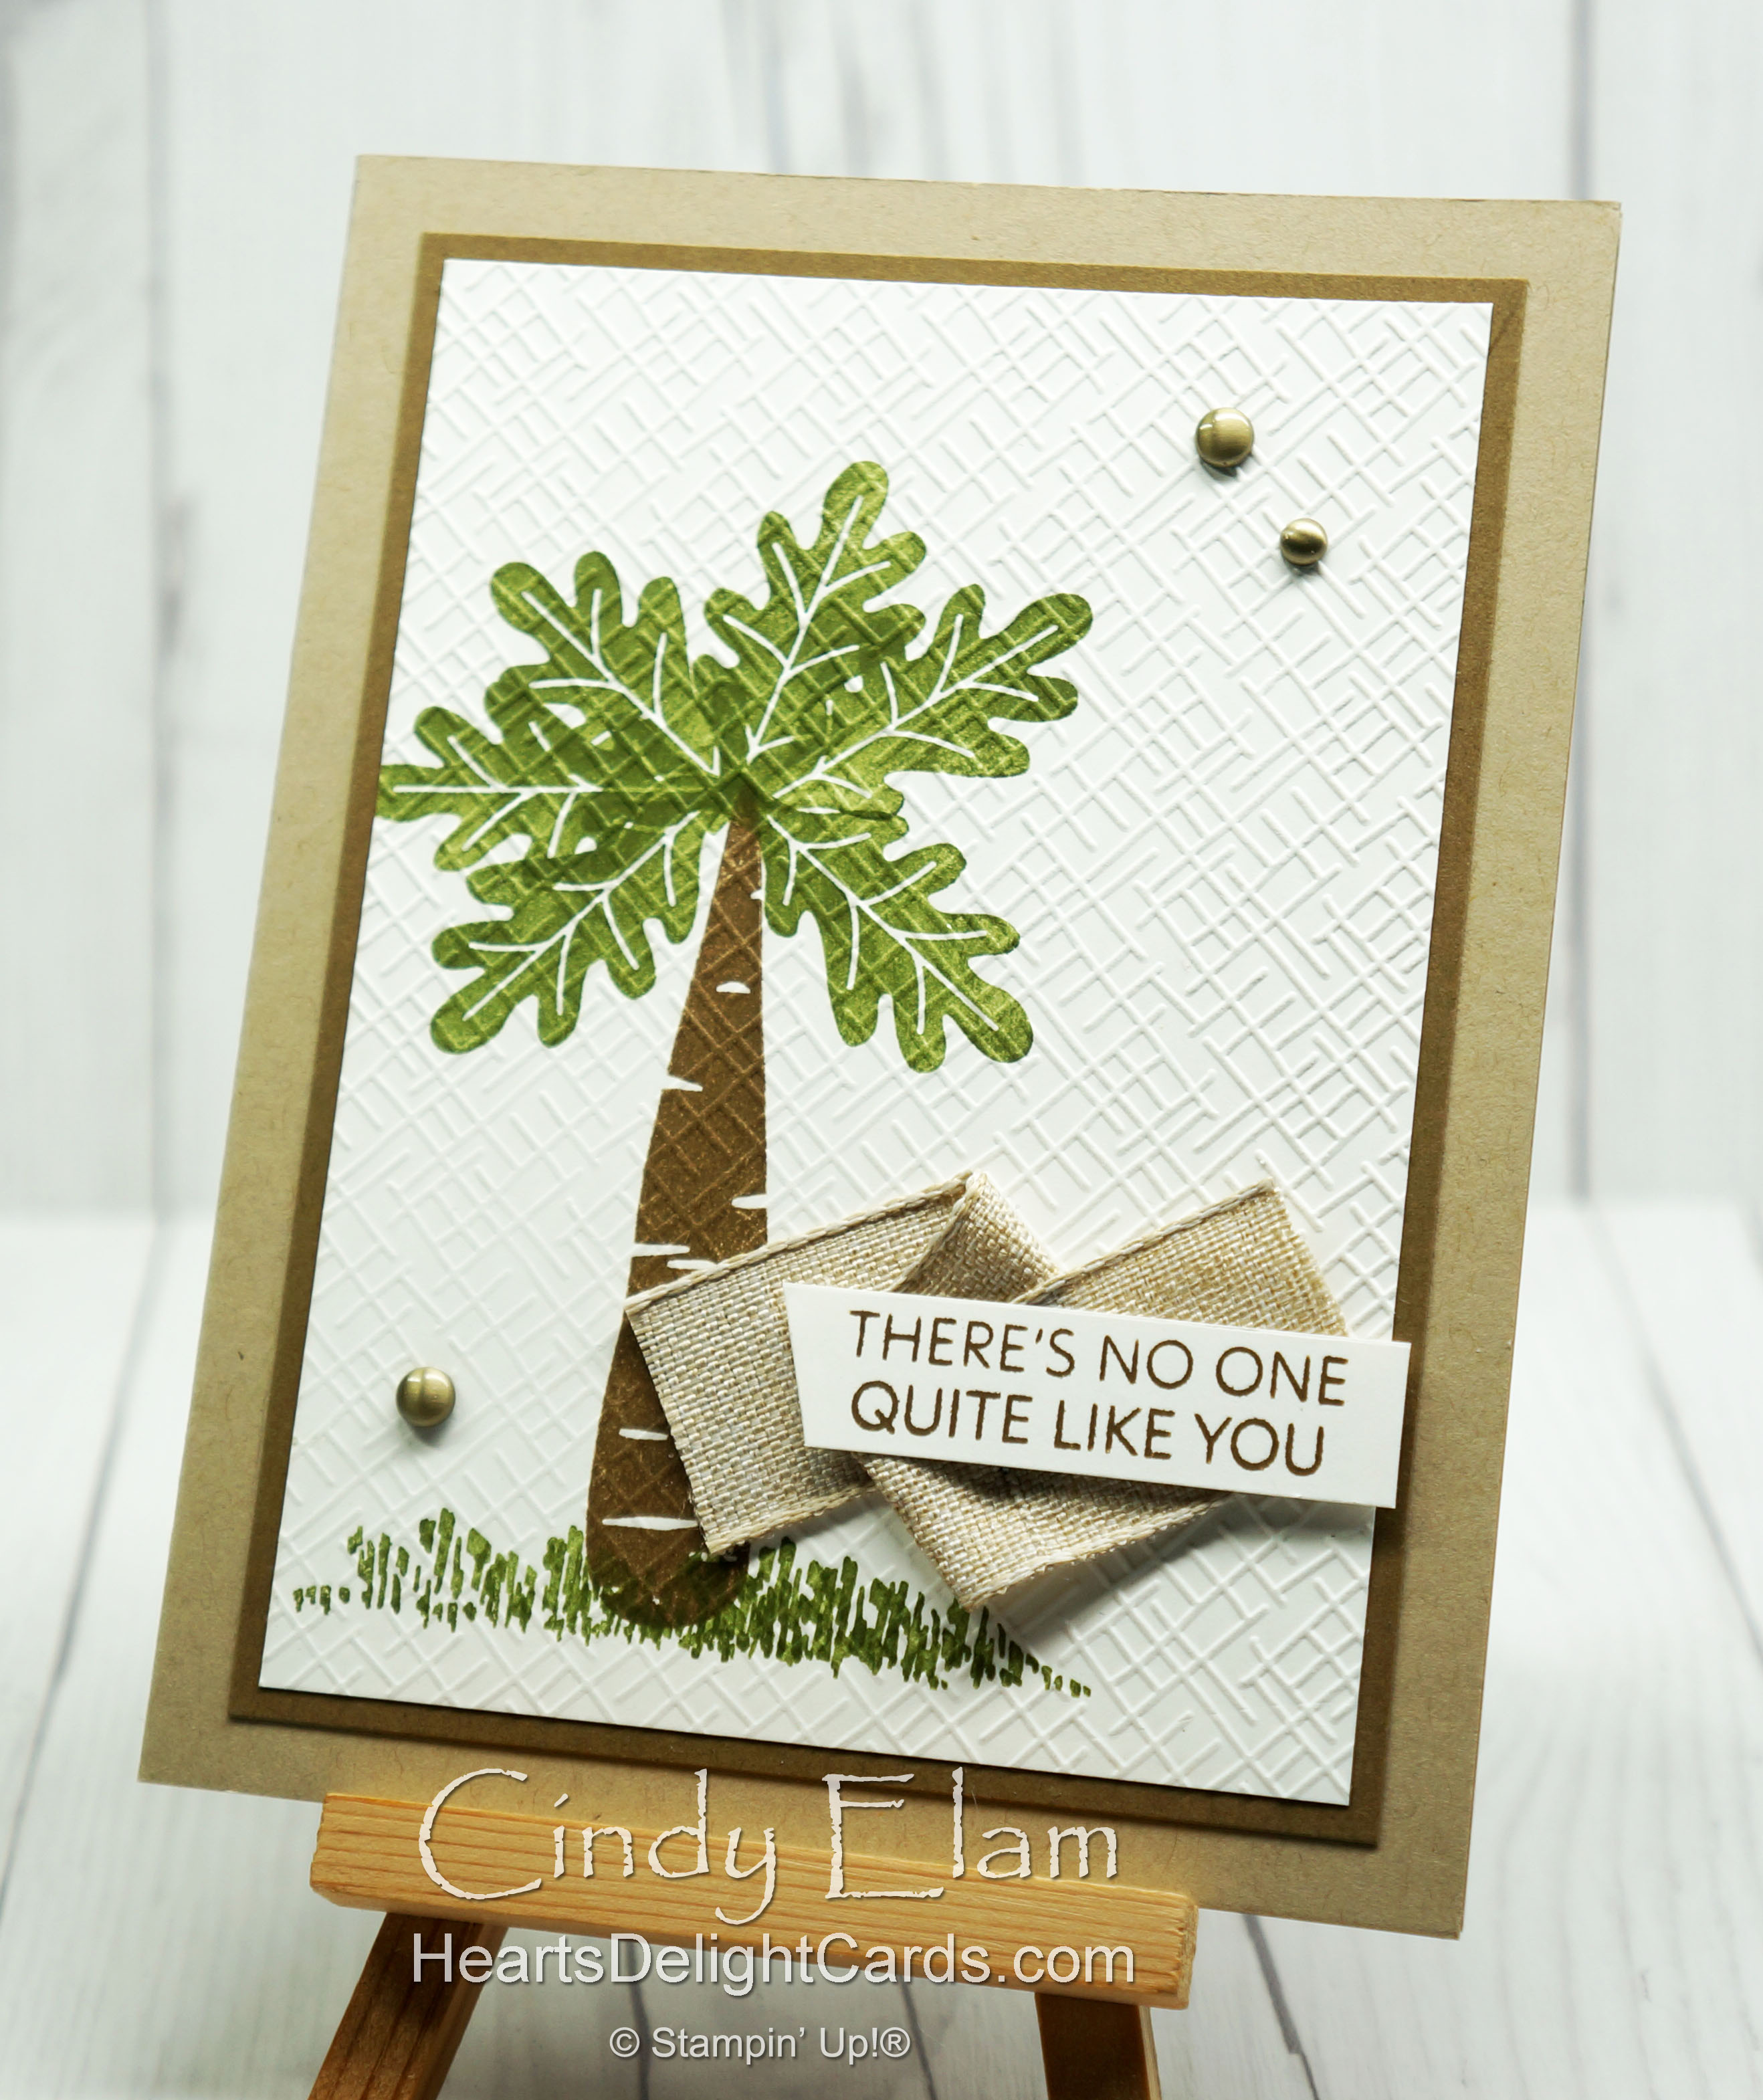
Did you notice the embossing? That's from the Basics 3D embossing folder set coming next month!

That's all from me, so click "Next" to see what Jay over at Mitosu Crafts created, or "Previous" to visit Betty again. Thanks for stopping by!


Product List

Monday, April 3, 2017

Tuscan Vineyard Thanks


I didn't get into my craft room yesterday because it was an absolutely glorious Spring day, with temps in the mid 70s, sunshine, and a light breeze. My husband and I spent part of the day outside picking up branches that had fallen from the dead ash tree and pulling weeds. Then he got out the rototiller and enlarged our garden area (man, that's hard on the arms and back), and I planted a bunch of seeds in seedling trays. I'd like to get the seedlings as big as possible before transplanting to the garden to give them a chance against pests. The lettuce and sugar snap peas that were planted in the Garden Tower last week are already up and looking happy! This morning it's pouring rain and I'm back in the craft room, so I inked up the Tuscan Vineyard stamp set, that I hadn't used yet, and made this card.

http://www.stampinup.com/ECWeb/ProductDetails.aspx?productID=141902&dbwsdemoid=2054459

Rich Razzleberry pairs so beautifully with Sweet Sugarplum, so the gingham check from the Succulent Garden DSP was used for the background. The Rich Razzleberry frame really makes it stand out against the white card base.


Here's the "How To"
 Image: Shimmery White 3-1/4" x 4-1/4"
 Mat: Rich Razzleberry 3-1/4" x 4-1/4"
 Greeting: Whisper White 5/16" x 3"
 Background: Succulent Garden DSP 3-7/8" x 5-1/8"
 Mat: Rich Razzleberry 4" x 5-1/4"
 Card base: Whisper White 5-1/2" x 8-1/2" scored & folded at 4-1/4"
  1. Adhere DSP to Rich Razzleberry mat and then to card base.
  2. Stamp image on shimmery white using black ink. Let it dry thoroughly before coloring. (Archival ink takes longer to dry than water-based ink.) Color grapes using a blender pen and Rich Razzleberry ink. Color leaves in Garden Green and Old Olive.
  3. Die-cut using largest oval in the Stitched Shapes Framelits. Die cut Rich Razzleberry mat with the scalloped oval from Layering Ovals Framelits.
  4. Adhere image to scalloped mat, and then attach to card base with dimensionals.
  5. Stamp greeting from Basket Bunch in black on greeting strip. Cut banner ends and adhere to bottom of image.
  6. Tie a bow with the Sweet Sugarplum ribbon and adhere to top of image with glue dots.
Product List