Monday, July 25, 2022

12 Days of Christmas in July - Day 10


This is the final week of Christmas in July, and I really hope you have been inspired by some of the projects! I've tried to keep them fairly simple and easy to mass produce, but I know some are a bit more involved. Today's card focuses on the Jingle Jingle Jingle stamp set on page 26 of the Jul-Dec catalog. I had all kinds of Christmas songs running through my head while I was making this card - "I love those J-I-N-G-L-E bells" and, of course, "Deck the halls with boughs of horry" which will forever be in my brain thanks to A Christmas Story. 🤣

Anyhoo, here's the deets for today's card!

Measurements

  • Card base: Garden Green 5-1/2" x 8-1/2", scored & folded at 4-1/4"
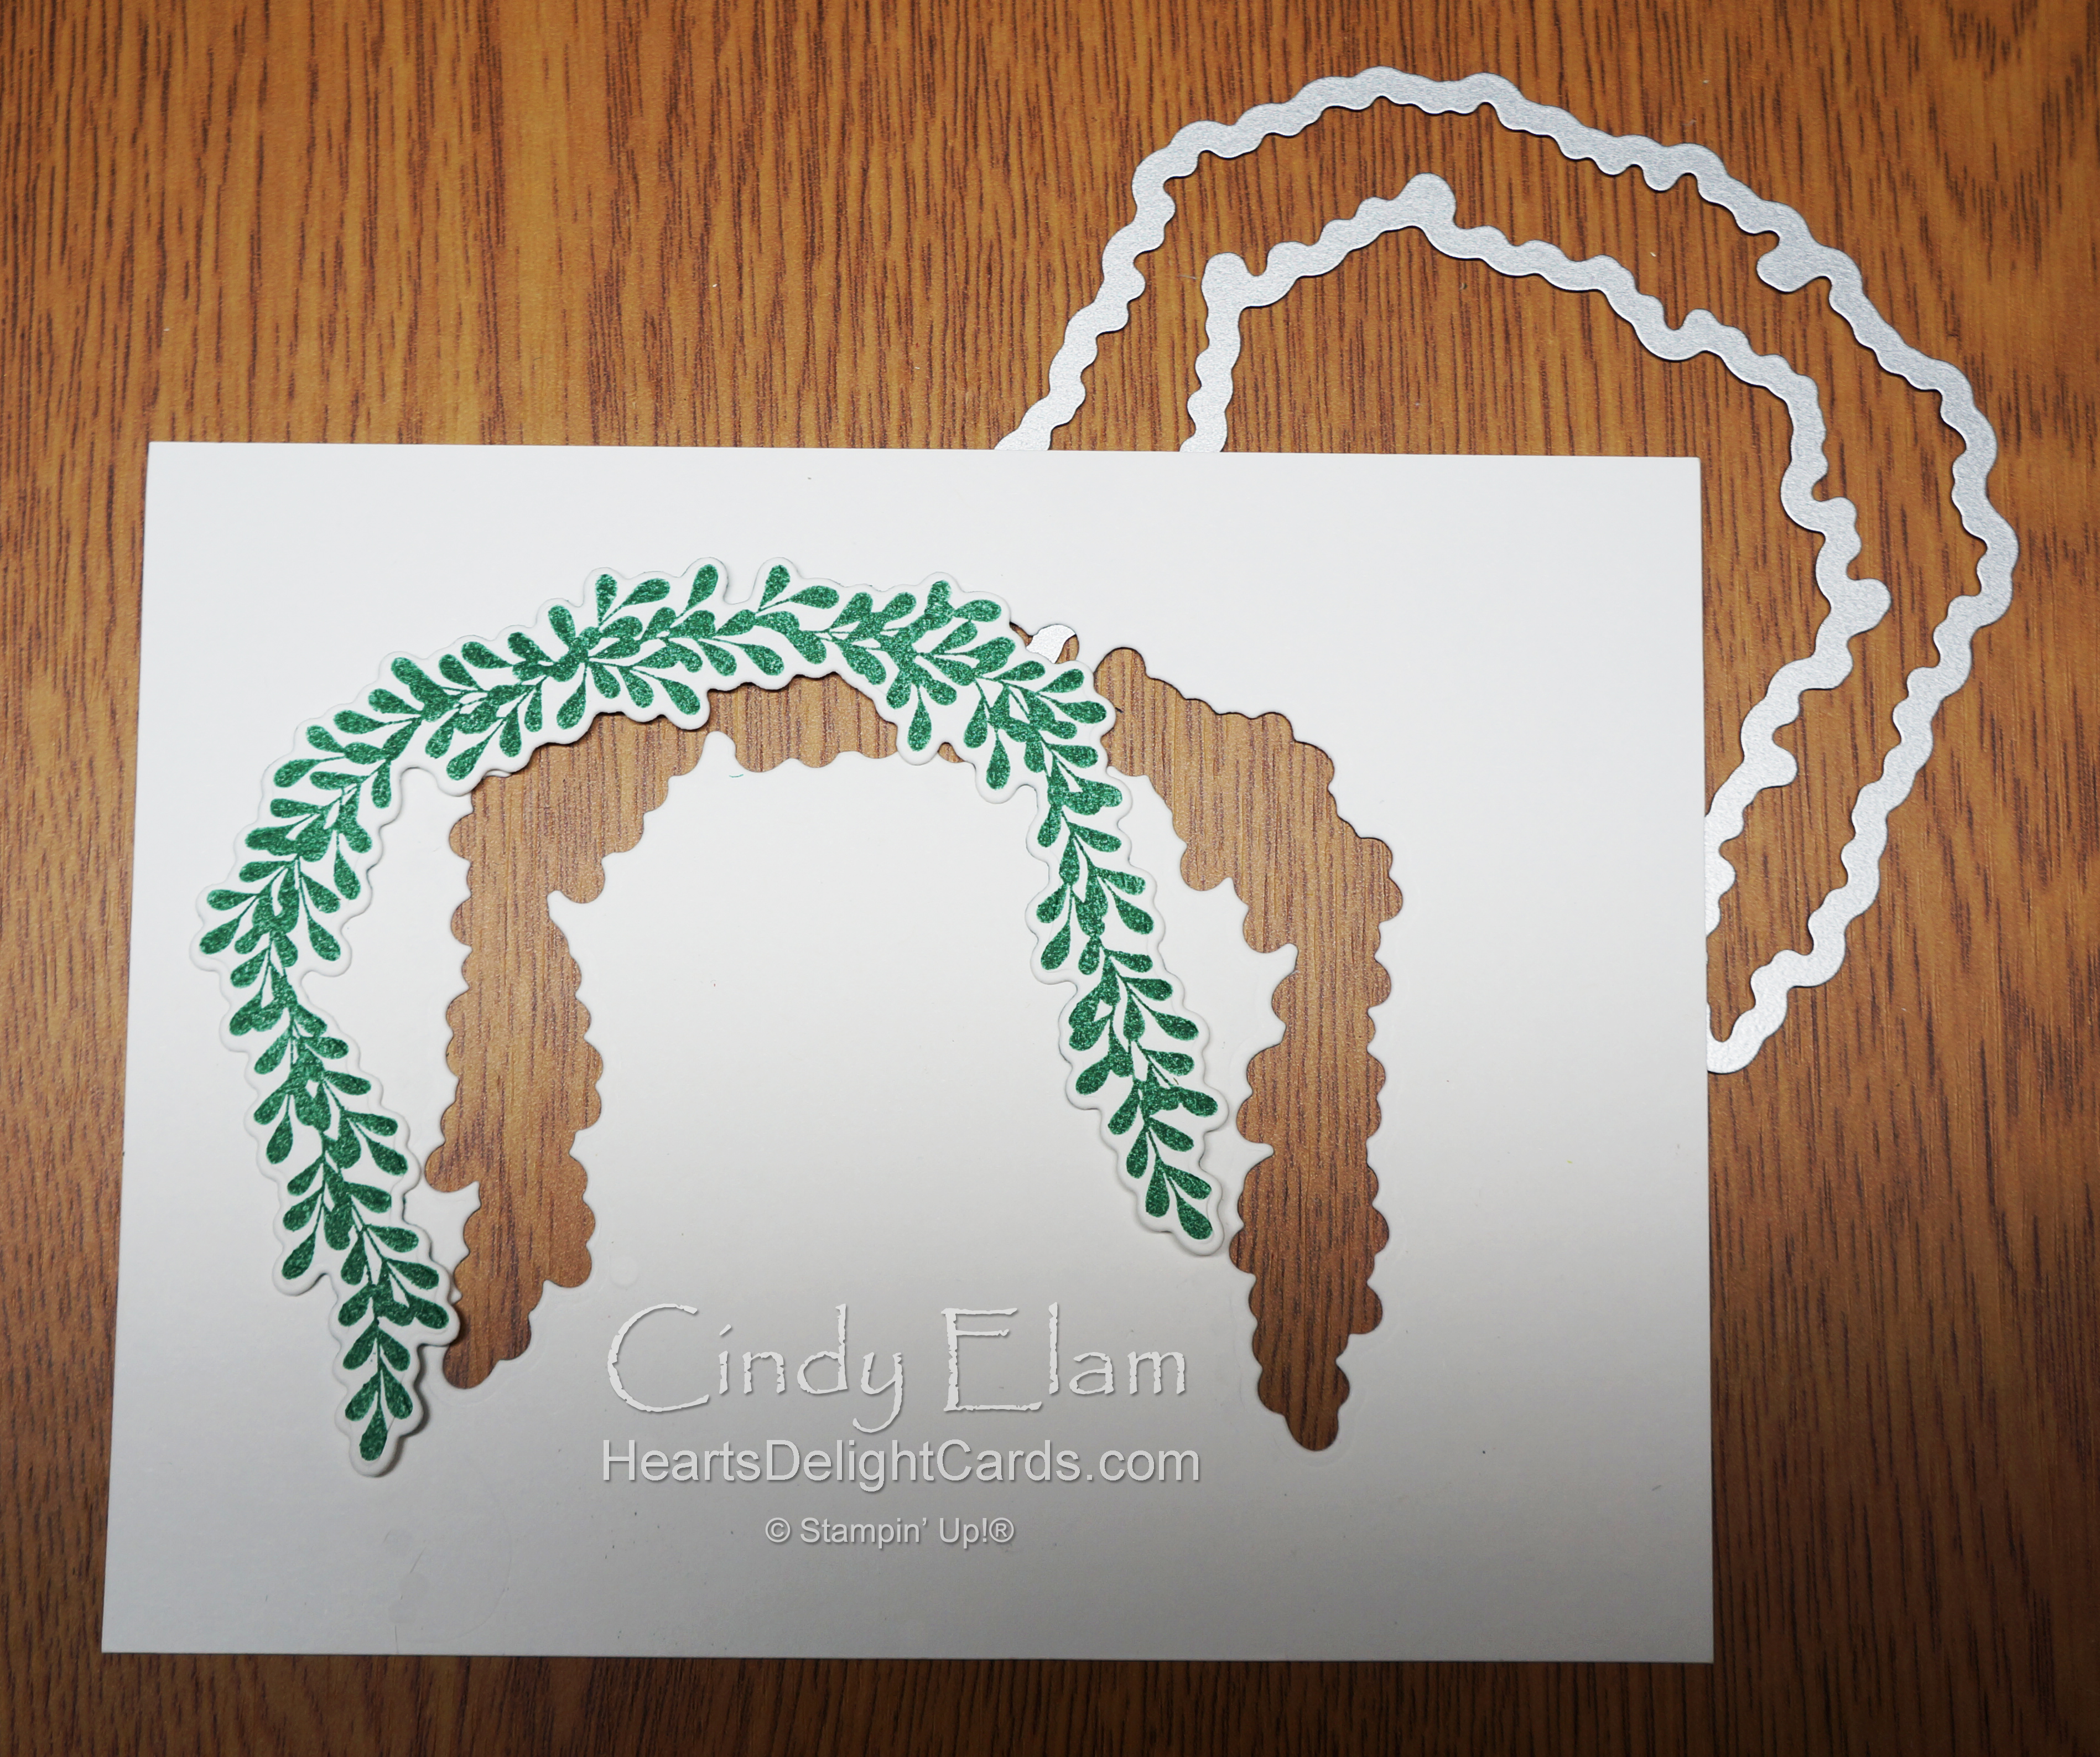
  • Embossed background: Basic White 4" x 5-1/4"
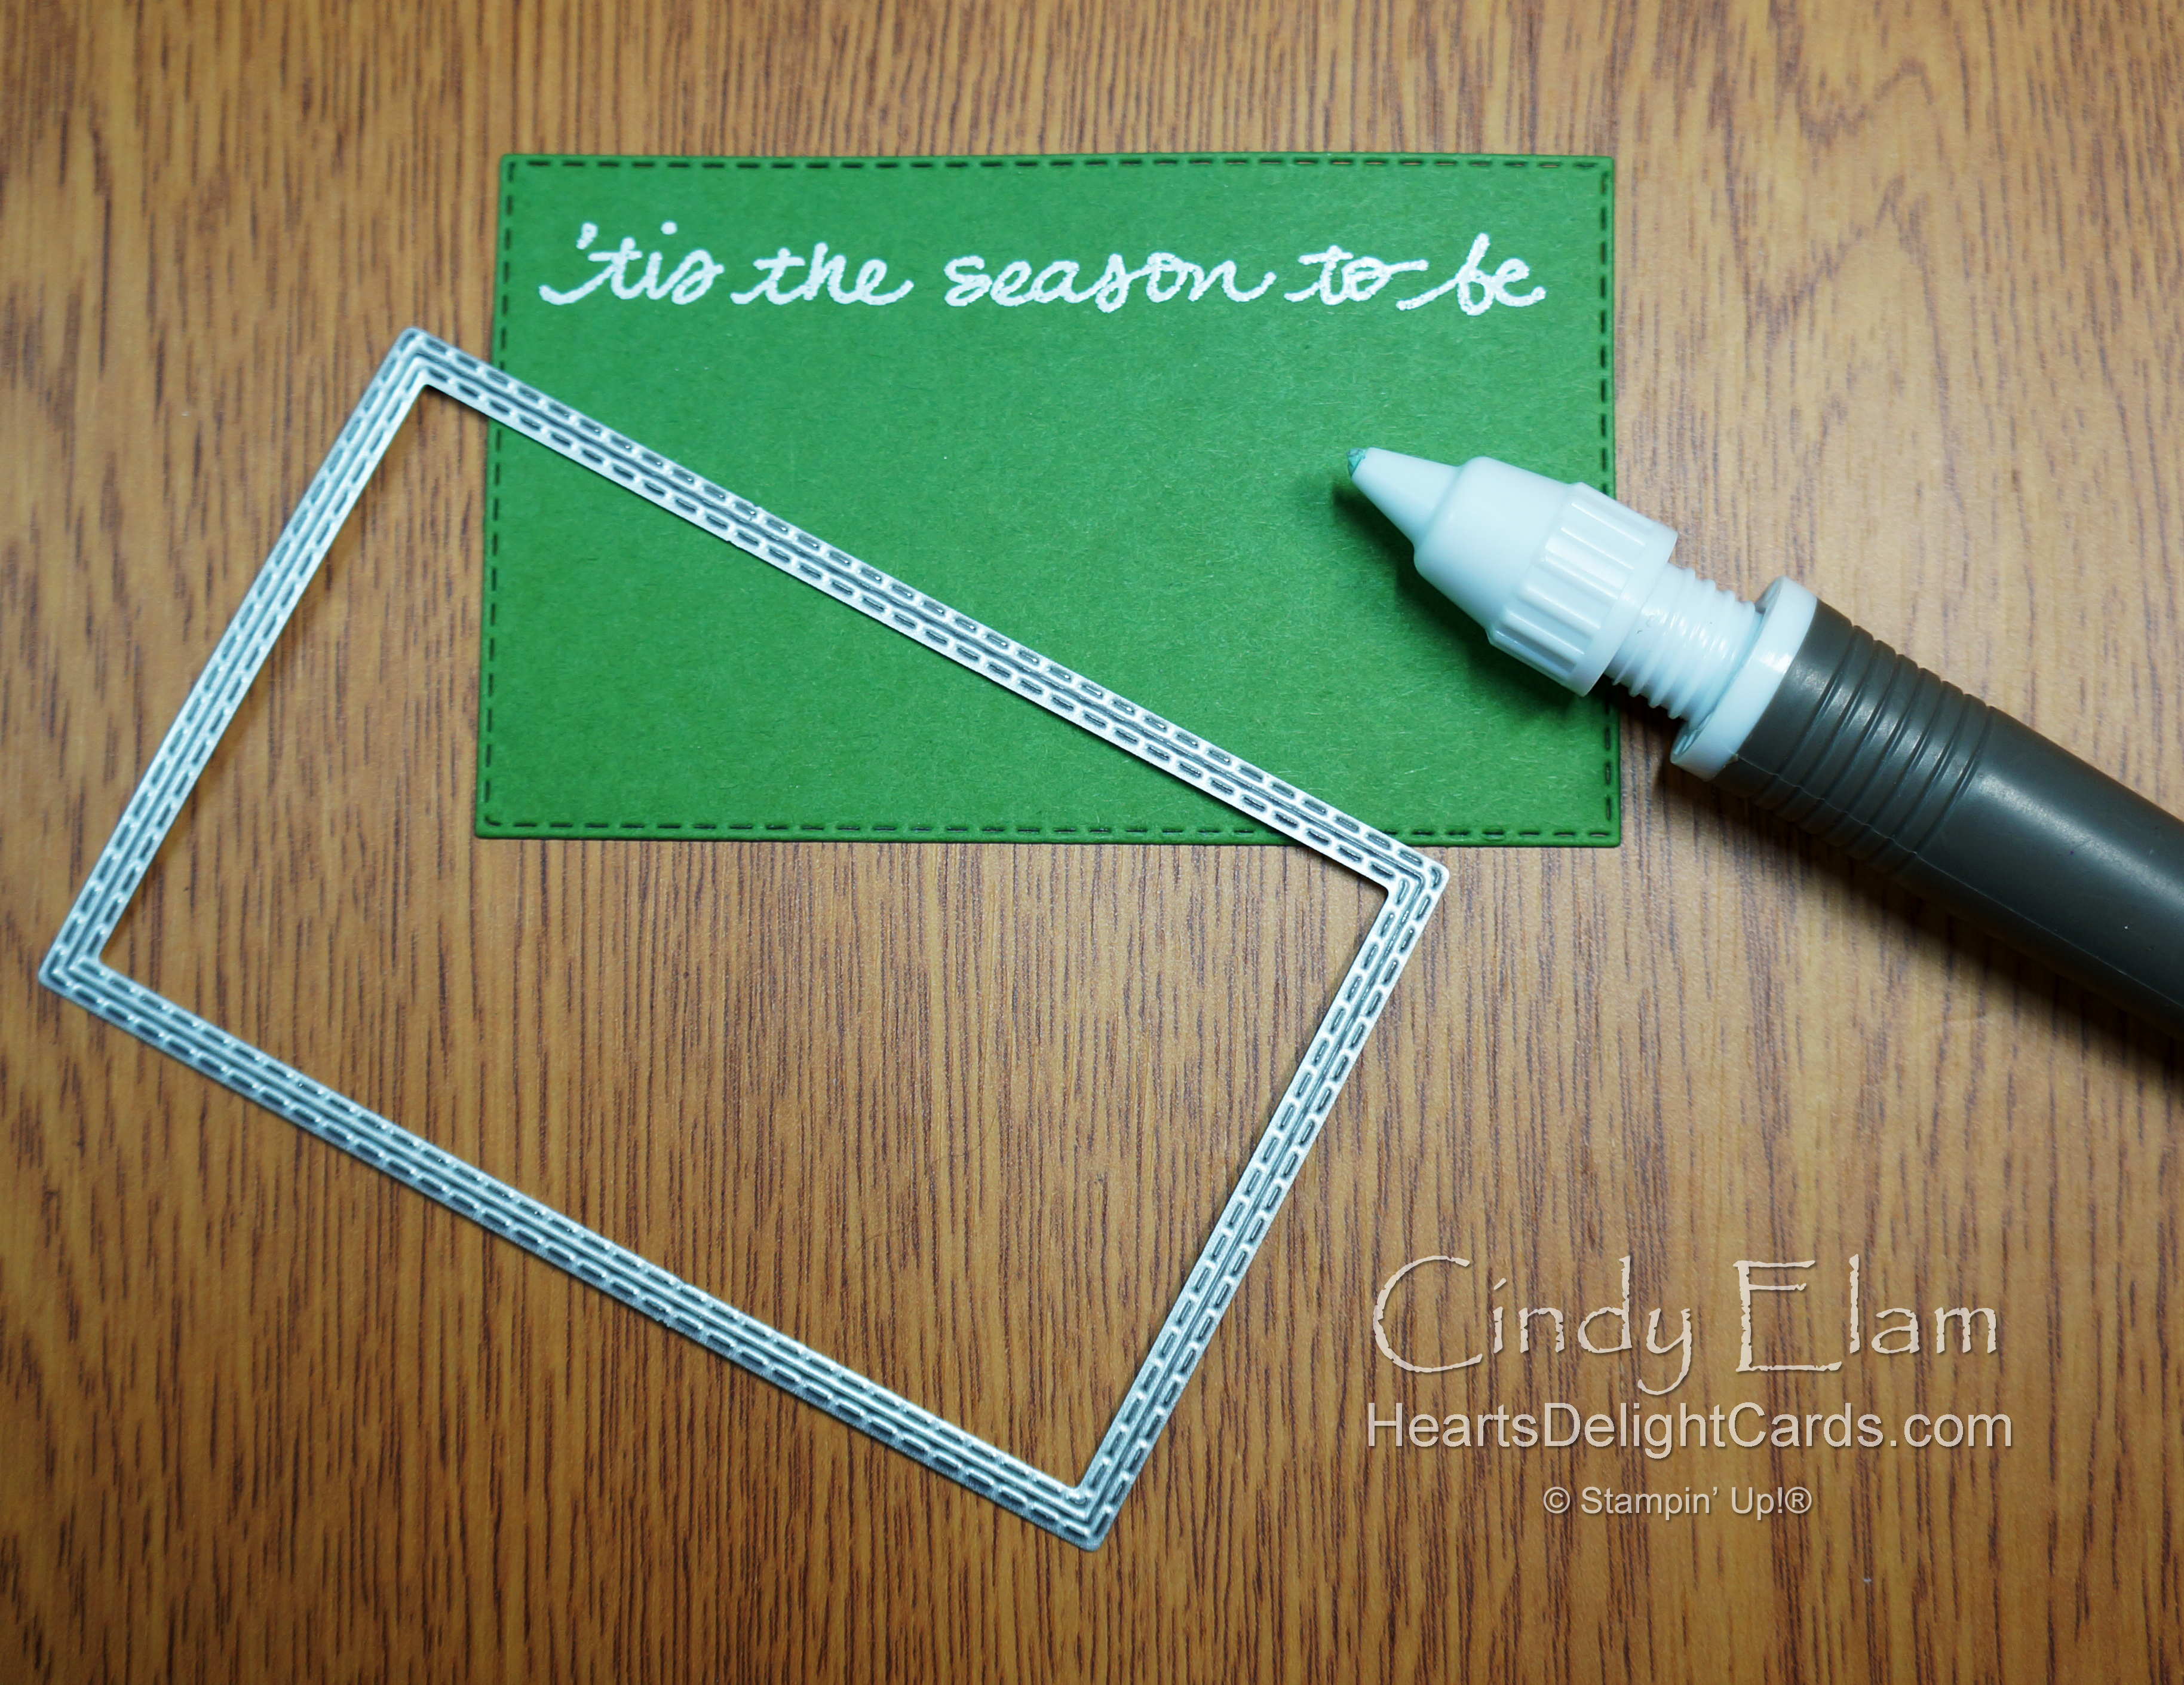
  • Heat embossed greeting: Garden Green 2-3/4" x 41/4"
  • Stamped greeting: Basic White 2" x 4"
  • Glimmer banner: Real Red glimmer paper 1" x 4-3/4"

Instructions

1.  Stamp light string in Garden Green at corner of background piece and color with Dark Granny Apple Green Stampin' Blend.


2.  Emboss with Merry Melody 3D folder and adhere to card base.


3.  Die cut Garden Green cardstock with the stitched Rectangles Die that measures approx. 3-23" x 3-3/4". Stamp greeting in VersaMark and heat emboss with white embossing powder. Adhere to card with dimensionals. Note: the putty tip of the Take Your Pick tool is a must have for removing stray bits of embossing powder before using the heat tool!


4.  Stamp "Jolly" and Santa hat in Real Red and die cut with 1-1/2" x 3-1/2" stitched rectangle.


5.  Punch banner ends on the red glimmer strip with the Banners Pick A Punch and adhere to back of Jolly greeting. Adhere greeting to card with dimensionals and add red rhinestones.


Product List

Saturday, July 23, 2022

CCM Saturday Blog Hop - Stripes

Today's Create With Connie & Mary Saturday Blog Hop theme is STRIPES, whether we create them ourselves, or use DSP. So I did both, lol! I knew as soon as I saw the theme for this week that candy canes had to be involved. Really.... besides peppermint flavor, what do you think of when you think of candy canes? Stripes, of course!


The stripes I created used the striped background die from the Candy Cane Dies and the beautiful glittery white glimmer paper from the Red & White Glimmer pack on page 9 of the Jul-Dec catalog. I glued it to a Real Red card base and saved the scraps for another day. 😉


The candy cane print in the Sweetest Christmas DSP was die cut with the matching dies (I love when there are dies to match the DSP!), and the mistletoe sprigs in the stamp set were stamped six times and die cut as well. After stamping the greeting on Basic White, it was also die cut with a stitched Rectangle die. Do you notice a theme here? I don't know what I'd do without my Stampin' Cut & Emboss Machine! After assembling everything I added some pearls for mistletoe berries.*


That's all for today - see you next Saturday! Up next is Libby Fens at Libby Stamps. Or click the "back" button to go back to Lori at Loritamarie Crafts.

* An old dad joke popped in my head while I was doing this... If an athlete gets athlete's foot, what do astronauts get? Mistletoe! 🤣


Stampin' Up! products used:

  • Stamps: Sweetest Candy Canes Bundle
  • Paper: Basic White and Real Red cardstock, Sweetest Christmas DSP, and Red & White Glimmer Paper
  • Ink: Real Red and Garden Green
  • Accessories: Stitched Rectangles Dies, Pearl Basic Jewels, Real Red & Garden Green Ribbon Combo Pack


Friday, July 22, 2022

12 Days of Christmas in July - Day 9


Three quarters of the way there; this month is just zipping by so quickly! Today I'm using the Window Wishes bundle again. The warm glow of the candles in the window is so inviting, isn't it? This time we're looking in the window, not outdoors. 😉

Measurements

  • Card base:  Basic White 5-1/2" x 8-1/2", scored & folded at 4-1/4"
  • Embossed background: Cherry Cobbler 4" x 5-1/4"
  • Window scene: Basic White 4-1/4" x 5-1/2"
  • Garland: Basic White 4-1/4" x 5-1/2"

Instructions

1.  Using window frame dies, cut two frames, one as-is and one with the window pane insert.


2.  Emboss Cherry Cobbler cardstock with the Brick & Mortar 3D folder.


3.  Stamp candles in Cherry Cobbler and flames in Mango Melody on leftover piece from window panes. Die cut with coordinating dies and glue flames behind candles.


4.  Use a Blending Brush to add a Mango Melody candle glow, concentrating color closer to bottom of window and fading to a lighter color on the rest of the piece. Glue window pane frame to window.


5.  Adhere brick background to card base. Glue outer window frame to card, then candles to window scene and the window scene inside the outer frame.


6.  Stamp garland in Shaded Spruce and die cut with die.


7.  Stamp greeting at top of leftover window frame and cut banner ends.


8.  Adhere garland to card with mini dimensionals and greeting to garland with mini dimensionals cut in half.


9.  Add Festive Pearls to garland.


Product List